Outdoor Lawn Ornaments
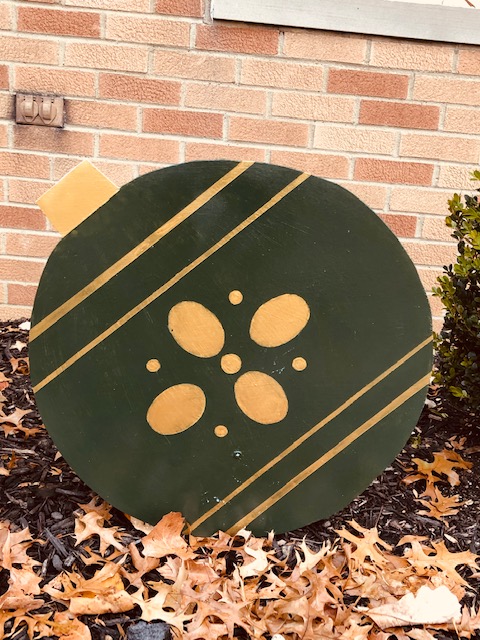
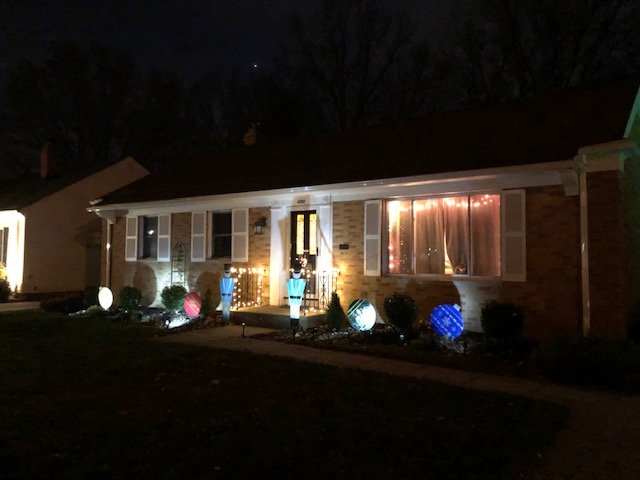
I recently finished ornaments to go with the toy soldiers in the yard! After Halloween, we felt like the soldiers needed something extra (since we had a mummy and Frankenstein for Halloween). Originally we thought presents might be nice, but then after thinking about it some more, I decided ornaments to try to get a more sophisticated look.
To get a perfect circle, I actually used the lid for our garbage can lol. You can probably use the pencil/string trick as well, but I think if you have something around your house in the size you want, it's much quicker. Even if you wanted to just use a large bowl and make smaller ornaments that would probably look great too.
I spent time looking at Pinterest for inspiration on how to design these. To accomplish that fancier look, I decided to stay within a traditional Christmas color palette of green, gold, and red (and then for some added color, the darker blue).
Using Frogtape, I got crisp, clean lines on the ornaments that needed them (I tried using other painters' tape and really, Frogtape is the clear winner. Bleed seems to happen a lot more with cheaper tape).
I also put my Cricut to use to make my own stencils on the blue ornament with snowflakes. I actually found free vector downloads of snowflakes I liked and opened them in the Cricut canvas instead of using the ones Cricut has available.
When I mounted the ornaments onto the wooden stakes, I cocked them a bit to get the jauntier look like maybe they were tossed onto the yard.
This was a fairly quick and easy project. What takes the most time is probably the fact that to get the colors to look richer, you do need multiple coats of paint. I never really clock how long my projects take but I did this one in conjunction with the Fortune Teller's Booth and it felt like it was moving along pretty quickly.
Cost Breakdown:
- Plywood: $17
- Paint: $16
- Wooden Stakes (12 pack): $12
- Clear Coat: $8.50


Comments
Post a Comment